
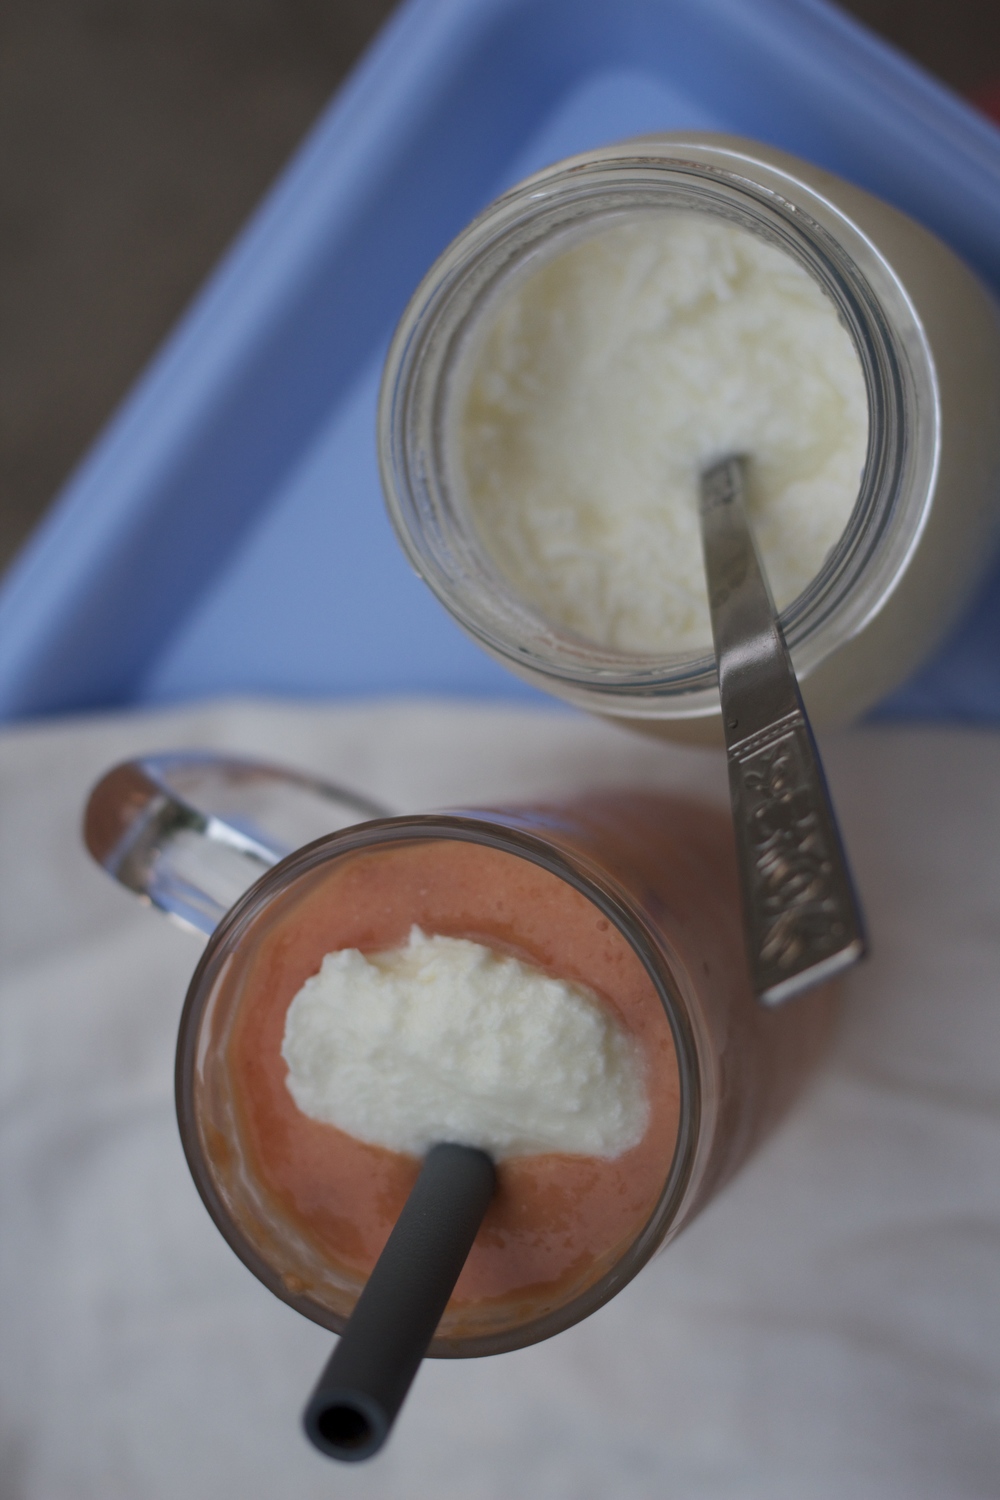
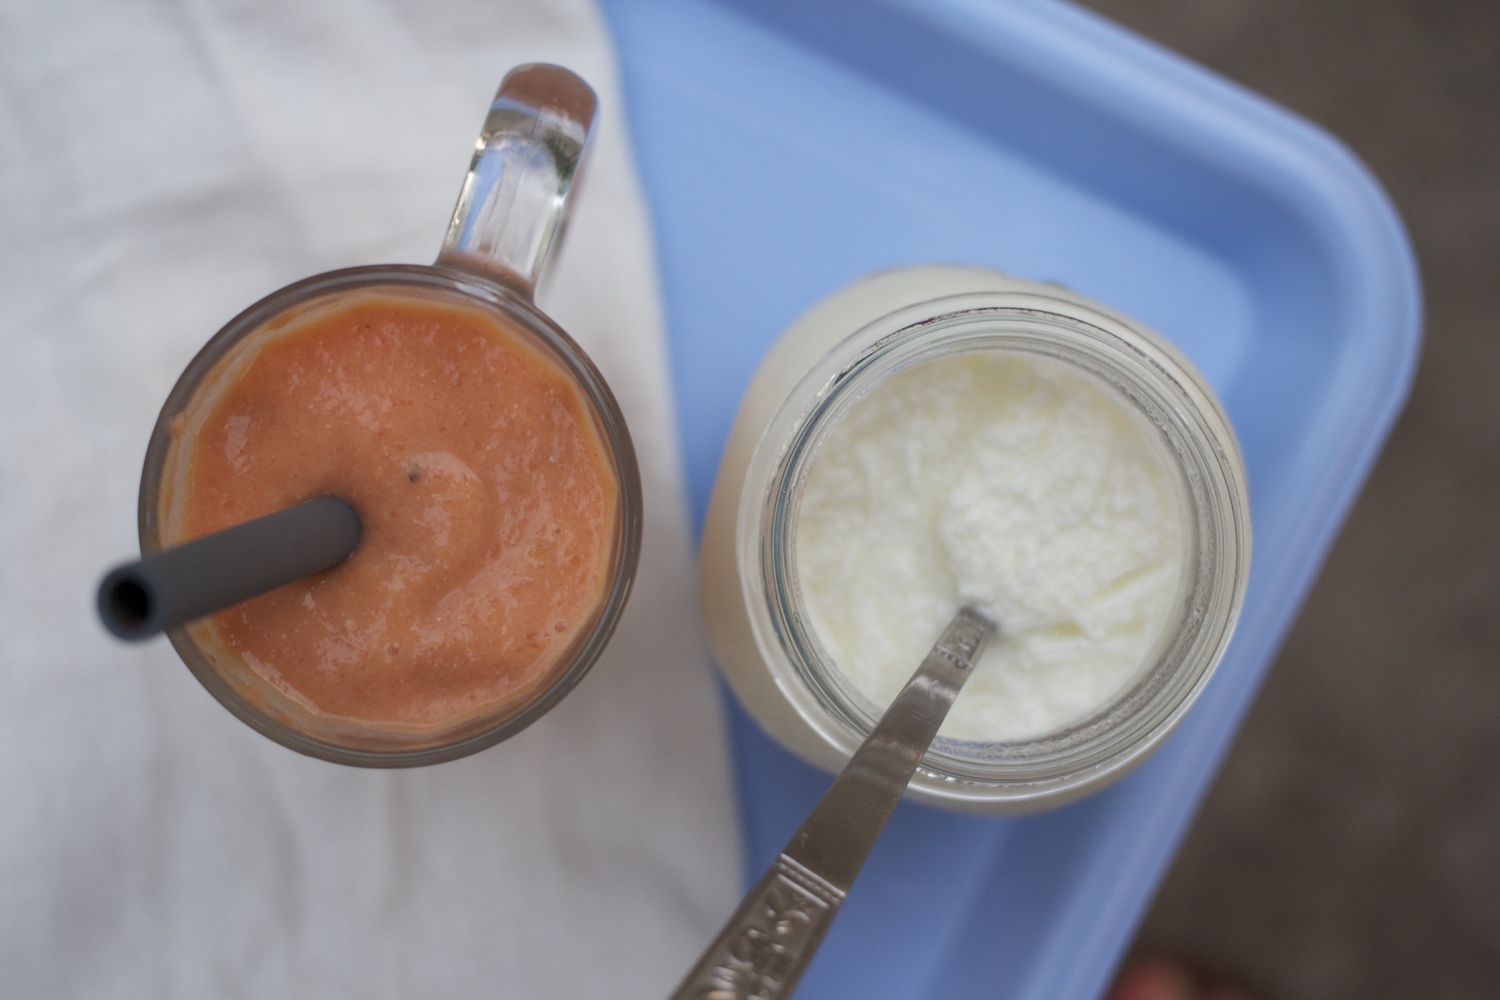
Before moving to Myanmar, I was under the impression that making homemade yogurt required an oven. After settling into our new home my husband and I starting making fruit smoothies religiously. (Think papaya, bananas, watermelons, none of which needed to travel far to get to our kitchen.) There was always something missing though, something creamy to stabilize the whole mixture and enhance all the flavors of the fruit.
Thanks to this post from Attainable Sustainable coupled with the wisdom of a veteran Yangon resident, I learned that the only thing standing between me and some yogurt was a little bit of effort and a few hours of waiting. In a land such as this, where decent and affordable dairy products are difficult if not impossible to find, a good yogurt is like gold. Making it myself also means less packaging waste, not to mention saving a two-hour trip to a Western store to stock up on small cups of yogurt.
The original recipe I tried called for honey and vanilla; I attempted this a few times, but found that the flavor didn’t come through, and the results weren’t much different than simply making plain yogurt. When I make yogurt now, I opt for just milk and yogurt cultures; good quality honey tastes much better drizzled on top before eating anyhow. And unsweetened yogurt such as this has made a wonderful base for things like salad dressing or tzatziki sauce.
Ingredients
½ gallon of milk (whole milk is best; avoid using ultra-pasteurized)
6 ounces of yogurt (must have live, active cultures. Most plain yogurts will have live cultures; check the label to be sure)
Optional:
¼ cup honey
Splash of vanilla or almond extract
Other supplies you’ll need:
Thermometer
Hot water bottle
Cooler or a Rubbermaid tub with a sealing gasket
Towels
Glass jars
Method:
In a large pot, heat the milk to 180 degrees F. Once you have reached 180 F, remove the milk from the heat and allow it to cool (it will take roughly 30 minutes for it to cool to the desired temperature, longer if you dwell in a warm climate—set a timer to check it if you think you’ll forget).
When the milk reaches 125 F, you can add honey and vanilla, if desired. Feel free to eyeball your honey measurements and save the hassle of washing out a measuring cup and wasting a few drops of honey.
While the milk continues to cool, boil water, fill the hot water bottle, and place in the tub/cooler to make a greenhouse atmosphere for the yogurt. (An extra hot water bottle or tempered container of hot water in the tub can help maintain the temperature if your home is somewhat cool.)
At 110 degrees, it’s safe to add the yogurt to the cooling milk. If you add it before this point, you will kill the active cultures in the yogurt and you’ll be lucky to have some partially thickened milk for your trouble. (Having an accurate thermometer is also important.) Whisk the yogurt into the milk until you’re sure that it is well incorporated.
Pour the yogurt into prepared jars or simply place the entire pot in the pre-warmed cooler. Wrap well with towels, set snugly against the hot water bottle and secure the lid. Leave in the cooler for 8-10 hours, or overnight. When you open it again, you’ll have a half-gallon of creamy, cultured goodness, all ready to refrigerate. Be sure to save six ounces of your creation for the next time you need fresh yogurt!